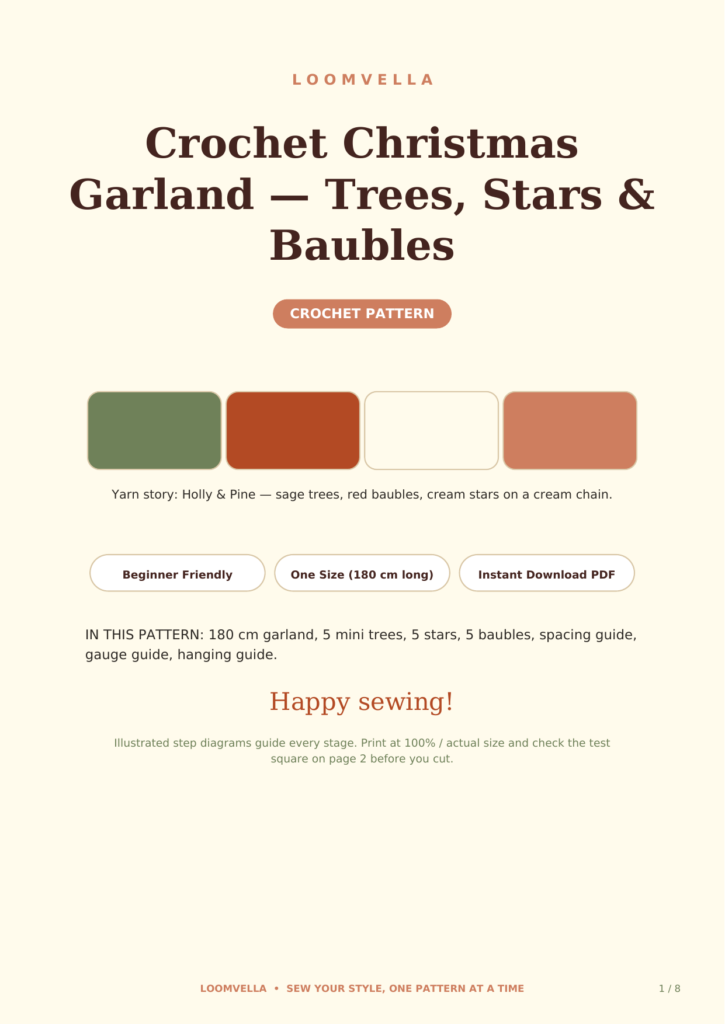
A crochet Christmas garland looks like a big project, but it is really fifteen small projects joined into one. Each motif — a tree, a star, a bauble — takes an evening at most, and each is simple enough for a beginner who knows the basic stitches. The garland is where the magic happens: the same three motifs, repeated and joined, become a 180 cm decoration that drapes across a mantel or winds around a tree.
This guide covers how to start with one of each motif, how to batch the rest, how to join them so the drape hangs right, and how to fix the common problems. The full printable version is Crochet Christmas Garland — Trees, Stars & Baubles.
Start with one of each
Learn the three motifs first
Before you commit to fifteen motifs, make one tree, one star and one bauble. This is your rehearsal: you learn each motif’s rhythm, you check your gauge, and you find out which motif you enjoy most. The tree is the most involved, the star the quickest, the bauble the most fiddly. If you can make one of each, you can make the garland.
Check your gauge on the tree
Gauge matters less for a garland than for a fitted garment, but it still matters: fifteen motifs made at different gauges look uneven when joined. Check your gauge on the tree — work to the end of round 3 and measure across: you want 5 cm wide. The finished motifs are 8 cm tall for trees, 7 cm across for stars, and 6 cm across for baubles. If your tree round 3 is 6 cm, drop down a hook size before you make the batch.
The three motifs
Sage trees, 8 cm tall
The trees are worked in sage green, in rounds from the top down, increasing to form the classic triangular shape. They are 8 cm tall when finished — big enough to read as trees from across the room. Work them firmly: a tree with loose stitches looks floppy rather than festive. Five trees for the garland.
Cream stars, 7 cm across
The stars are the quickest motif: simple points in cream, 7 cm across. They are the same family as the snowflake coasters — and if you have read How to Block Crochet Snowflake Coasters So the Points Stay Crisp, you already know that a quick block makes star points crisp. Block your five stars before joining for the sharpest result.
Red baubles, 6 cm across
The baubles are small spheres in red, 6 cm across, stuffed lightly so they hold their shape. Stuff them firmly enough that they are round, but not so firmly that the stitches stretch open and show the filling. Five baubles complete the set of fifteen motifs.
Batch by motif
Work in production-line order
Make all five trees, then all five stars, then all five baubles. Batching is faster than alternating because your hands learn each motif’s rhythm and your tension stays consistent. It also lets you lay out all fifteen motifs at the end and check they are even before joining — a wonky motif is easy to replace at this stage and annoying to replace later.
Weave in ends as you go
Weave in each motif’s ends as you finish it. Fifteen motifs with loose ends become a tangled, dispiriting pile; fifteen finished motifs with woven ends are a satisfying stack ready for joining. This is the least glamorous advice in this guide and the most worth following.
Joining the garland
The 180 cm chain
The garland hangs from a 180 cm crochet chain. Work the chain first, then join the motifs to it: one motif every 12 cm, in the repeating order tree, star, bauble. The 12 cm spacing is what gives the garland its even, professional look — measure it with a tape, at least for the first few motifs, until your eye learns the spacing.
Sew through two stitches
Attach each motif by sewing it to the chain through two stitches, not one. A single-stitch attachment lets the motif spin and twist; two stitches hold it facing forward. Use the same yarn as the motif for the joining stitches so they disappear into the work.
Keep the order: tree, star, bauble
The repeating order — tree, star, bauble, tree, star, bauble — is what makes the garland look designed rather than random. It also distributes the colours evenly: sage, cream, red, repeating down the length. With five of each motif, the pattern repeats five times across the 180 cm.
Hanging the garland
Hang with slack
Hang the garland with some slack, in a gentle swag, rather than pulling it taut. A taut garland looks stiff and shows every slight unevenness; a swagged garland drapes naturally and the motifs settle into place. The 180 cm length is designed for a standard mantel or doorway with a comfortable drape.
Let it settle
After hanging, leave the garland alone for an hour. The motifs settle, the chain relaxes, and any twisting works itself out. Adjust only after settling: straighten any motif that faces sideways, and even out the swag.
Troubleshooting
The garland twists
Twisting usually means the chain itself is twisted — crochet chains love to twist as you work them. Before joining the motifs, lay the chain flat and let it untwist naturally. If motifs still spin after joining, check that each is attached through two stitches, not one.
The garland sags in the middle
A little sag is the point of a swag, but if the middle dips dramatically, the chain has stretched under the motifs’ weight. Work the chain with a slightly tighter tension than the motifs, or run a thin ribbon through the chain for support. Hanging the garland from three points instead of two also fixes a sagging middle.
The motifs face different directions
Motifs that face different directions were joined at different angles. Decide on one facing direction — all motifs facing forward — and rejoin any that differ. This is a five-minute fix per motif and transforms the garland’s look.
The chain stretches over time
Crochet chains stretch with gravity and time, especially in cotton. If your garland grows longer each Christmas, work the chain a few centimetres short of 180 cm — it will stretch to length as it hangs. Store the garland loosely coiled, not hanging, to minimise stretching between seasons.
A garland worth hanging
Fifteen small motifs, one long chain, and an evening or two of joining: that is all a Christmas garland is. The beginner-friendly part is not a marketing claim — it is the structure of the project. Small pieces, simple stitches, and a result that looks like far more work than it was.
Ready to start? Get the full printable pattern here: Crochet Christmas Garland Pattern. Print at 100 percent, check the gauge box, and hang a garland you made yourself.