Crochet Amigurumi Ornaments for Beginners: A Tree, a Snowman and Friends
An amigurumi Christmas ornament is the friendliest possible first crochet project: it is small, it forgives mistakes, and each finished piece looks like it was always meant to be there. A tree, a snowman, a Santa hat, a star, a bauble and a candy cane — six little characters that take minutes each and turn any tree into a handmade tree.
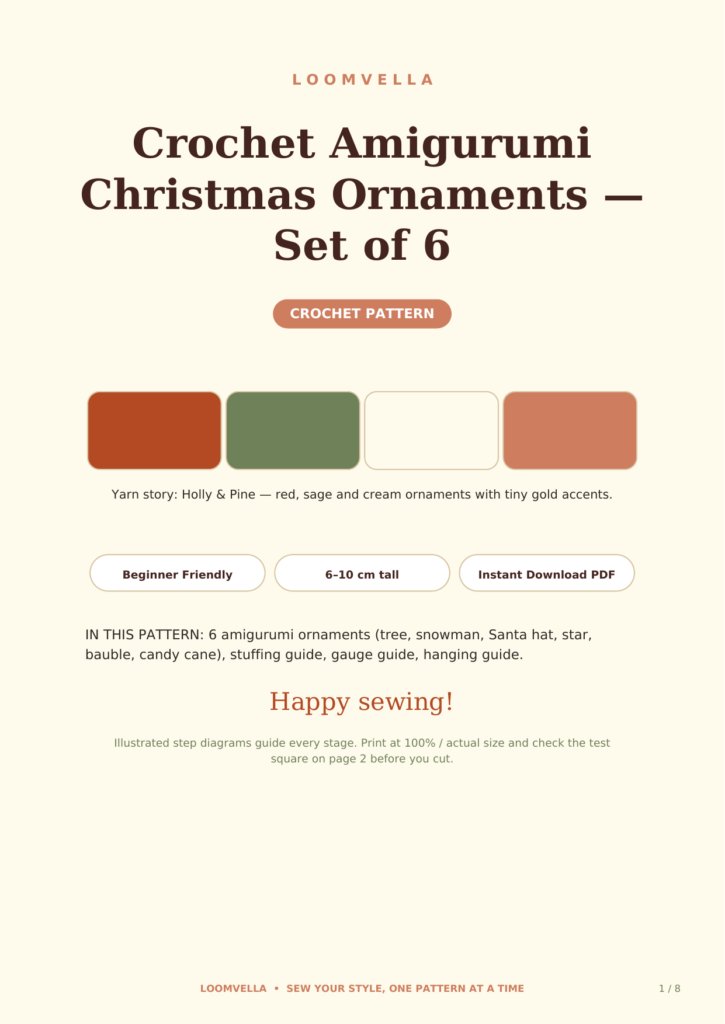
This guide covers the stitches you need, how to keep your gauge consistent, the stuffing and finishing that make ornaments look neat, and how to hang them so they survive the season. The full printable version with stitch counts is Crochet Amigurumi Christmas Ornaments — Set of 6.
What makes an ornament beginner-friendly?
Amigurumi ornaments are ideal for beginners for a simple reason: the pieces are worked in the round with only one or two stitches. You need a magic ring, single crochet, increase, decrease, and a slip stitch. That is the whole toolkit. Everything else — the tree’s triangles, the snowman’s body, the hat’s brim — is just those stitches in different counts.
Small projects also teach faster than big ones. A miscrossed stitch on a 6 cm ornament barely shows; on a 60 cm blanket it haunts you. Work small, finish fast, and your hands learn tension and stitch placement from six quick projects instead of one long one.
The only stitches you need
Magic ring
Most amigurumi pieces start with a magic ring: a loop of yarn you pull closed after working the first round into it. It closes the hole at the bottom of the piece completely, which matters for ornaments because stuffing pokes through an open ring. If the magic ring frustrates you, start with a chain-2 ring instead — work your first round into the second chain from the hook. The result is nearly as neat and far less fiddly.
Single crochet in the round
Work single crochet in a spiral, without joining rounds, and mark the first stitch of each round with a stitch marker or a scrap of yarn. The spiral is what gives amigurumi its smooth surface. Count your stitches at the end of every round for the first few ornaments: the most common beginner error is losing or gaining a stitch and only discovering it three rounds later.
Increase and decrease
Increases (two stitches in one) shape the bottoms of round pieces; invisible decreases (working through the front loops of two stitches together) shape the tops. The invisible decrease is worth learning properly because a visible decrease leaves a small gap, and stuffing shows through gaps on a white snowman.
Gauge: the quiet skill
Why gauge matters on ornaments
Gauge in amigurumi is not about fitting a body — it is about the fabric. Stitches that are too loose leave holes the stuffing shows through; stitches that are too tight make the piece stiff and hard to shape. You want a firm fabric with no visible gaps, which usually means going down a hook size from what the yarn label suggests.
The pull test
After three rounds, pull the piece gently in all directions. If you can see the stuffing through the stitches (or your finger through them), your hook is too big or your tension too loose. Go down half a hook size. If the piece feels like cardboard and the hook is hard to insert, go up. There is no single right answer: hands differ, and the test takes ten seconds.
Stuffing without lumps
Little and often
Stuff with small tufts of polyester fill, pushing each one in and spreading it before adding the next. Big handfuls of stuffing make lumpy ornaments; small tufts settle evenly. For the snowman and bauble, under-stuff slightly: a firm-but-squeezable ornament looks better than a hard ball.
Close as you go
As you decrease toward the top of a piece, add the last stuffing before the hole gets too small for your finger, then close it. Trying to stuff through a nearly closed hole pushes the existing stuffing aside and creates a dent. This is the step that separates neat amigurumi from lumpy amigurumi, and it costs nothing.
Finishing: faces, brims and hangers
Embroidered faces
Embroider the snowman’s face with black yarn or thread before you close the body: two French-knot eyes, a small orange triangle nose in backstitch, and a smile in backstitch. Embroidering before closing means your knots are hidden inside. Keep faces simple — two eyes and a smile read as “snowman” from across the room.
The hanging test
Thread a 10 cm loop of yarn or ribbon through the top of each ornament and hang it from your finger. It should hang straight, not tip. If the tree tips, the top is too heavy — add a fraction more stuffing to the base or shorten the loop. Ornaments that hang crooked look wrong on the tree no matter how neatly they are stitched.
Which ornament to make first?
Start with the star or the bauble: they are the simplest shapes, so you practise the magic ring, increases and decreases with the least counting. Then the Santa hat, which adds colour changes. Then the tree and the snowman, which are just combinations of shapes you already know. Save the candy cane for last — the stripes need attention, and by then your tension will be steady.
If fingerless gloves are next on your list, read the Crochet Fingerless Gloves Size Guide — the same gauge discipline applies, and the gloves show how measuring first saves rework later.
Troubleshooting beginner amigurumi
My stitches are different sizes
Uneven stitches come from uneven tension, which is normal in a first project. The fix is boring but effective: crochet slowly, pull each stitch to the same snugness, and keep the yarn feeding smoothly. By the sixth ornament your stitches will be noticeably more even than on the first — that visible improvement is one of the pleasures of the set.
I keep losing count
Use a stitch marker in the first stitch of every round, and count out loud for the first few rounds. If counting fails anyway, put the piece down, stretch it flat, and count the stitches in the last round you are sure of — then recount forward. Never guess and carry on: three wrong rounds take longer to fix than one counted round.
Six little friends
Amigurumi ornaments are proof that crochet does not need to be a long commitment to be satisfying. An evening’s work fills a branch, and because each ornament is small, every one you finish makes the next one neater. Make the set, hang them together, and watch which one guests pick up first.
Ready to start? Get the full printable pattern here: Crochet Amigurumi Christmas Ornaments Pattern. Print at 100 percent, check the test square, and crochet a set of six.