Crochet Reindeer Ornaments for Beginners: Antlers, Ears and a Red Nose
A crochet reindeer ornament looks complicated, but it is really just a small round head with a few well-placed parts. If you can crochet in the round, increase, decrease, and sew pieces together neatly, you can make one. This guide to a crochet reindeer ornament for beginners breaks the project into those simple parts, so you can focus on one piece at a time and end up with an ornament you are proud to hang on the tree.
The trick is not speed. It is placement. Antlers that sit too far forward make the reindeer look surprised. Ears that sit too low make it look droopy. A nose that is sewn on loosely will wobble every time the tree is touched. Get the placement right, and even a simple reindeer looks charming.
Start With the Head, Not the Antlers
Beginners often want to start with the fun parts, the antlers and the nose, but the head is the foundation everything else attaches to. Crochet the head as a simple sphere or slightly oval ball, working in continuous rounds with a stitch marker to track the start of each round.
Stuff the head firmly but not so tightly that the stitches stretch open and show the stuffing. A good test is to squeeze the head gently: it should spring back, not stay dented, and you should not be able to see white stuffing through the stitches. If you can, go down a hook size next time, or add a little less stuffing and let the shape settle.
Getting Your Gauge Right
Gauge matters more for ornaments than for scarves, because a small change in size changes the proportions of the whole face. Crochet a small swatch in the round, measure it, and compare it to the pattern. If your reindeer is coming out much larger than expected, your stitches are loose; try a smaller hook rather than pulling your yarn tighter, which tires your hands.
Most reindeer ornaments use a 3.5 mm or 4 mm hook with double-knit or aran-weight yarn, but the exact combination matters less than consistency. Use the same hook and tension for the head, ears, and muzzle, so the parts match in stitch size when they are sewn together.
Crocheting the Antlers
Antlers are the part beginners worry about most, and they are simpler than they look. Each antler is a short stem with one or two small branches. Crochet the stem as a narrow tube, then crochet each branch separately and sew it to the stem at a slight angle.
Work the branches a little shorter than you think you need. On a small ornament, oversized antlers overwhelm the face. Aim for antlers roughly the same height as the head itself, and curve them slightly outward. If a branch flops, a single stitch through the base of the branch into the stem will hold it upright.
Sewing Antlers Symmetrically
Sew the first antler on, then hold the head up and mark the matching spot for the second antler with a pin before you sew it. Step back and look at the head from the front, not just from above. Antlers that look even from above can look lopsided from the front, which is the angle everyone sees on the tree.
Use the same yarn as the antler for sewing, and take small, neat stitches through the base of the antler and into the head. Weave the end in well, because a loose antler is the first thing a curious child will find.
Ears and the Muzzle
Ears are small ovals, folded slightly at the base to give them shape. Pin them just below and slightly behind the antlers. If the ears sit too close to the antlers, the head looks crowded; a small gap between ear and antler reads as natural spacing.
The muzzle is a smaller oval sewn onto the lower front of the head. Stuff it lightly so it stands proud of the face without looking like a balloon. Sew it on with the same careful, small stitches you used for the antlers, working around the whole oval so no edge lifts.
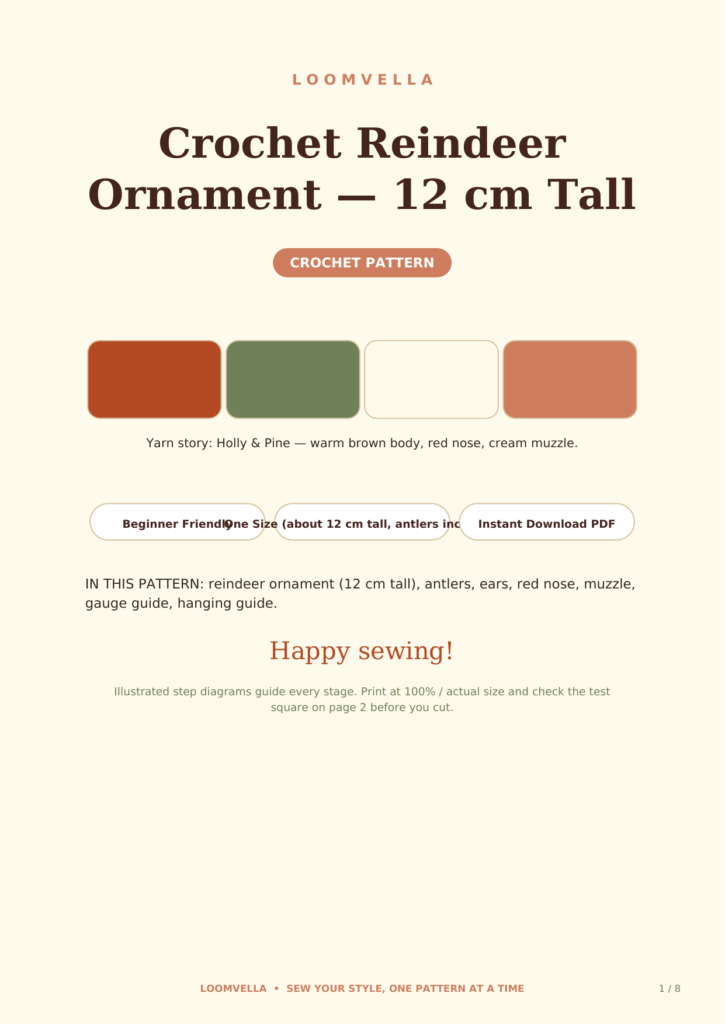
For the full illustrated version with stitch counts and assembly diagrams, the Crochet Reindeer Ornament Pattern is available as a PDF instant download on loomvella.com, with every piece charted step by step.
The Red Nose That Stays Put
The red nose is the star of the show, so give it the attention it deserves. Crochet it as a small, firm ball in red yarn, stuff it lightly, and sew it to the centre of the muzzle with several passes of thread. Do not rely on a single stitch, and do not glue it, since glue can stain the yarn and fails when the ornament is stored in a warm loft.
If you prefer a slightly different look, a small embroidered nose worked in satin stitch over the muzzle also works well, but a crocheted nose gives the classic raised, touchable finish that children love. Either way, tug it gently once it is sewn on. If it moves, add more stitches now, not after the ornament is hanging.
Eyes and Finishing Touches
Eyes make the biggest difference to expression. Small safety eyes are easy and neat, but they must be inserted before the head is stuffed and closed, so plan their position early. If you prefer embroidered eyes, use black yarn and work two small French knots or satin-stitch ovals, placed evenly on either side of the muzzle and slightly above it.
Add a hanging loop at the top of the head, between the antlers, using a short chain or a length of yarn or ribbon. Make the loop long enough to sit over a tree branch comfortably, but short enough that the reindeer does not dangle too far below the branch and get lost behind other ornaments.
Common Beginner Mistakes
The most common mistake is overstuffing, which stretches the stitches and distorts the face. The second is sewing pieces on without pinning first, which leads to wonky antlers and wandering ears. The third is rushing the finishing, leaving yarn ends poking out of the head. Take five extra minutes to weave in every end properly. That finishing is what separates a handmade ornament from a homemade-looking one.
If you are planning a set of crocheted ornaments, sizing matters just as much as shape. The Crochet Santa Hat Size Guide covers the same measurement principles for hats, and it is a useful companion read when you start scaling any small crochet project up or down.
Making a Set for Gifts
Reindeer ornaments make wonderful gifts because they are quick, personal, and easy to post. Crochet the heads in a batch first, then the antlers, then the ears, so you work assembly-line style and keep the tension consistent across the set. Vary the scarf colour, the nose shade, or the hanging ribbon to give each one its own character without changing the pattern.
A set of three or five reindeer, tucked into a small gift box with tissue paper, looks far more thoughtful than a single shop-bought ornament. They also make lovely tree decorations for a first home, a classroom tree, or a Secret Santa gift that actually gets kept.
Ready to start? Get the Crochet Reindeer Ornament Pattern as a PDF instant download on loomvella.com, with full stitch counts, assembly diagrams, and tips for every piece from the antlers to the red nose.