How to Sew Christmas Bunting That Hangs Straight (Not Saggy)
Saggy bunting is the saddest kind of Christmas decoration. The flags droop, the tape dips between every pin, and the whole garland looks tired before December has even started. Learning how to sew christmas bunting garland that hangs straight is mostly about spacing, tape choice, and hanging method, not about sewing skill. Get those three right, and your bunting will look crisp from the first hang to the last.
This guide covers a quilted flag bunting, with flags sewn onto bias tape, spaced evenly, and hung so the tape carries the weight instead of the flags pulling it down.
Why Bunting Sags in the First Place
Bunting sags for three reasons. First, the flags are too heavy for the tape, often because they are made from thick fabric or lined with heavy interfacing. Second, the flags are spaced too far apart, so the tape dips between each one under its own weight. Third, the garland is hung from too few points, so long spans of tape have nothing to support them.
Fixing all three is straightforward. Use light to medium-weight cotton for the flags, keep the spacing consistent and fairly close, and hang the garland from several points along its length, not just the two ends.
Choosing Fabric and Tape
Choose quilting cotton for the flags. It is light, holds a crease, and comes in festive prints that read well from across a room. Avoid heavy home-decor fabric, which looks substantial in the shop and drags the tape down at home. For the tape, use a sturdy cotton bias tape or a woven tape made for bunting, not a flimsy satin ribbon, which stretches and twists.
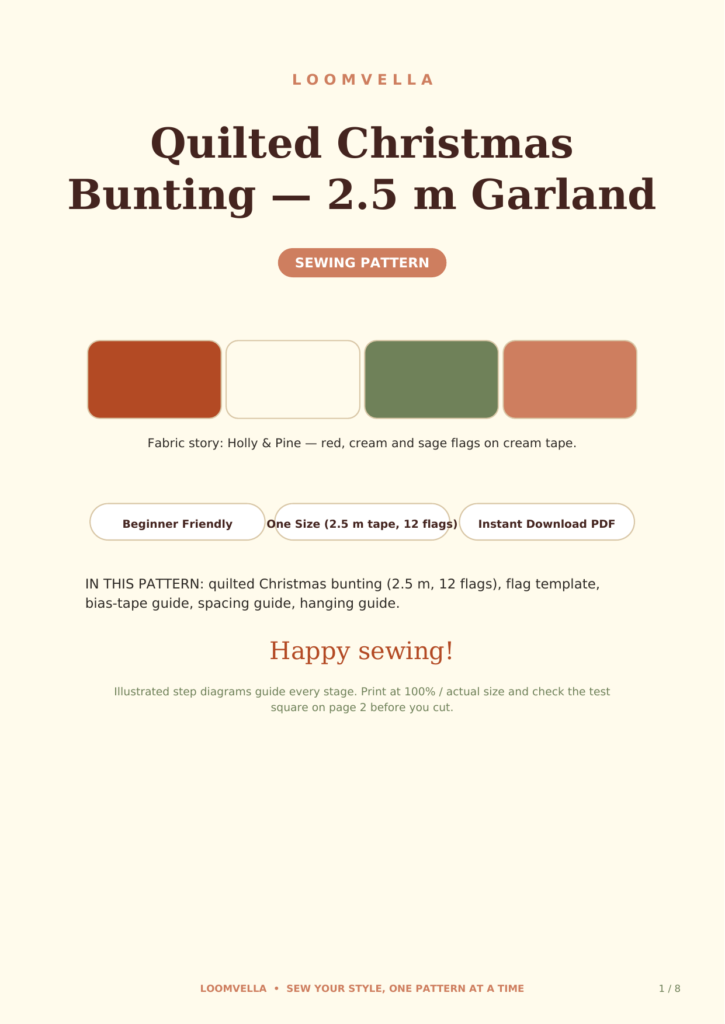
If you want a quilted look, use a very light batting or a single layer of fusible interfacing in the flags, not a full batting layer. Quilted bunting looks beautiful, but over-quilted flags become heavy, and heavy flags are the main cause of sag. The Quilted Christmas Bunting Sewing Pattern on loomvella.com gives you the illustrated guide as a PDF instant download, with flag templates and spacing guidance included.
Flag Size and Spacing
Getting the Proportions Right
A good flag size for indoor bunting is around 15 centimetres wide at the top and 18 to 20 centimetres long. Smaller flags suit a mantelpiece or a doorway, while larger flags suit a long wall or a staircase. Whatever size you choose, keep every flag the same size, because uneven flags make the sag look worse by drawing the eye to the dips.
Cut all the flags from a single template, and label the template so you can reuse it next year. Consistent flags are the foundation of straight-looking bunting, and a template is the easiest way to guarantee them.
Spacing That Prevents Dips
Space the flags about 5 centimetres apart along the tape, measured from the edge of one flag to the edge of the next. Closer spacing supports the tape, because each flag acts as a small anchor that stops the tape from dipping. Wider spacing, ten centimetres or more, looks airy in a shop display but sags quickly at home, especially on a long garland.
Count your flags before you start sewing them to the tape. Lay them out on a table in the order you want, check the colour balance, and photograph the layout if you are using a planned sequence. Rearranging flags after they are sewn on means unpicking tape, which nobody enjoys.
Sewing the Flags to the Tape
Sew each flag with the top edge enclosed in the bias tape, stitching close to the lower edge of the tape so the flag is held firmly. Work along the tape in one direction, keeping the spacing even, and backstitch at the start and end of each flag for security. A flag that is only caught by one line of stitching at the very top edge will twist and pull free over time.
Press each flag after it is sewn on, from the back first, to remove any puckering at the tape. If a flag puckers, it is usually because the tape was stretched while sewing. Ease the tape gently as you sew, letting the feed dogs move it naturally rather than pulling it from behind.
Making the Flags Lie Flat
For flags that lie flat instead of curling, topstitch around the two long edges of each flag, about 3 millimetres from the edge. Topstitching adds a small amount of structure without adding weight, and it stops the flag edges from rolling inward after washing or storage.
If a flag still curls, press it with steam and a pressing cloth, and store it flat rather than folded. Flags that are stored crumpled in a box will need pressing every year, while flags stored flat between sheets of tissue paper stay crisp.
Hanging So It Stays Straight
How you hang bunting matters as much as how you sew it. Hang the garland from at least three points for a short run, and add a support point every 60 to 90 centimetres for a long run. Small hooks, removable adhesive hooks, or pins all work, but the key is the number of points, not the type.
Pull the tape taut between support points, but not so tight that the flags are pulled sideways. The tape should form a gentle, even line, not a tightrope. If the garland will span a doorway or a window, a length of string or cord run behind the tape and tied at the support points can carry extra weight without showing.
Loops and Ties at the Ends
Finish each end of the tape with a generous loop or tie, at least 20 centimetres long, so you have something to wrap around a hook or a nail. A short end that barely reaches the hook will slip off the first time someone brushes past. A long tie can be wrapped twice and knotted, which stays put all season.
If you hang bunting outdoors or in a draughty hallway, choose a slightly heavier tape and shorter spans between supports, since wind and movement increase the sag. Indoor bunting in a still room can span a little further without dipping.
Storing Bunting Flat
Fold bunting in a concertina, flag over flag, rather than rolling it into a ball. Rolling creases the tape and tangles the flags, while a concertina fold keeps the tape flat and the flags in order. Store the folded garland in a bag or box with a little tissue paper between layers, and it will come out next year almost ready to hang.
A quick press of the tape before hanging, working from the back, restores the crisp finish. Do not iron directly over printed flags with a very hot iron, since some prints can shine or fade. A medium iron and a pressing cloth are enough.
If you are building a full set of handmade Christmas decorations, the oven mitt project in How to Sew an Oven Mitt and Pot Holder Set uses the same bias tape and topstitching skills, so it pairs naturally with this bunting for a coordinated kitchen and living room.
A Quick Project With a Big Payoff
Bunting is one of the quickest Christmas sewing projects, and it transforms a room faster than almost anything else you can make in an afternoon. The flags are simple, the sewing is straightforward, and the result is visible every time you walk into the room.
Take the time to measure the spacing, choose a sturdy tape, and hang it from enough points, and your bunting will hang straight all season, not saggy by the second week.
Ready to make yours? Get the Quilted Christmas Bunting Sewing Pattern as a PDF instant download on loomvella.com, with full-size flag templates, spacing guidance, and step-by-step diagrams for sewing and hanging a garland that stays straight.