A quilted Christmas star ornament should hang level from its ribbon, turning slowly, looking the same from every angle. When it does not, it tips forward, one point drooping lower than the rest, and the whole tree decoration looks off-balance. The fix is not luck. It is a set of small decisions — identical points, light stuffing, a centred loop — that you make once per ornament and benefit from every time you look at the tree.
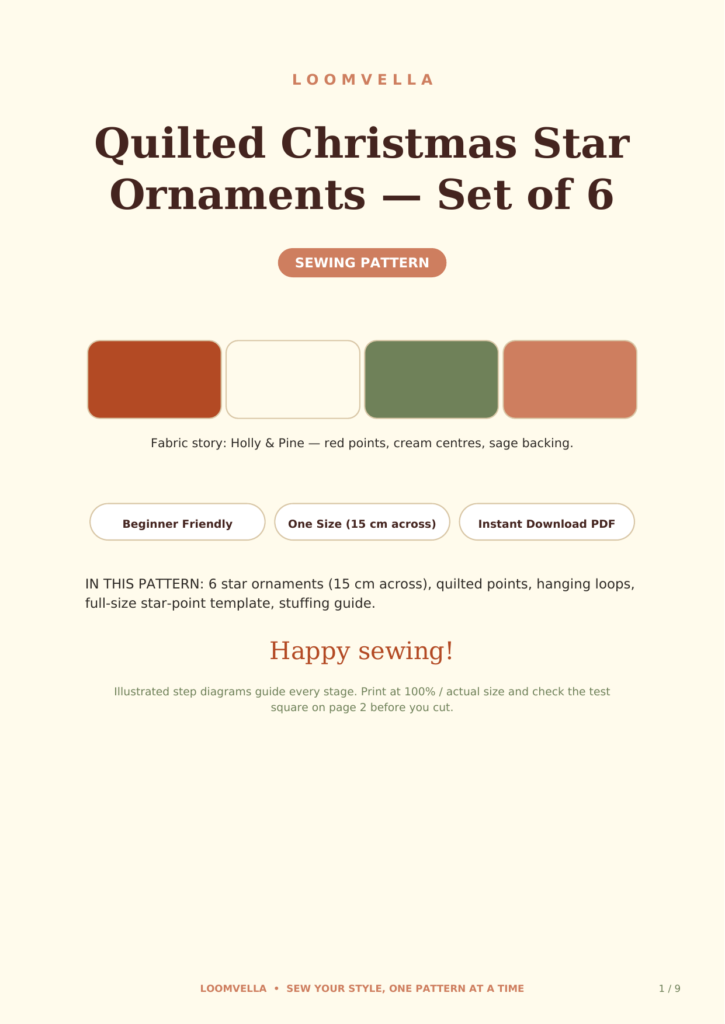
This guide explains why stars tip, how to cut five identical points, how to join them so the star sits flat, and how to test each ornament before it goes in the gift box. The full printable version is Quilted Christmas Star Ornaments — Set of 6.
Why stars tip
A star tips when its centre of weight is not under its hanging point. The causes are small and cumulative: points that differ in size, stuffing that is heavier on one side, a hanging loop attached off-centre, or quilting that pulls one point tighter than the others. None of these is visible while you sew. All of them are visible on the tree.
The good news is that a star is symmetrical by nature, so every fix is about keeping that symmetry. Five identical points, joined evenly, stuffed lightly, will hang level almost by themselves.
Cut five identical points
Use the template, every time
Cut each star point from the full-size template in the pattern — 12 cm long and 8 cm wide — and do not freehand them. Tracing around the same template five times is the only reliable way to get five identical points. If you cut the first point and use it as the template for the rest, tiny errors compound: point two is a hair smaller, point three smaller still. Start from the paper template for all five.
Cutting for the set
A set of six stars needs 30 points. Cut them all before you sew: stack your fabrics, trace the template, and cut in batches. Keeping all 30 points together in a tray or a zip bag also stops you mixing them up with other projects mid-sew. Check each point against the template before it goes into the tray — a point that is 1 cm short now is a star that tips later.
Quilt before joining
Quilt each point flat
Quilt the points before you join them into the star. Layer each point with batting and backing, and quilt simple lines or a small motif. Quilting after joining is awkward: the star’s shape fights the sewing machine, and you cannot keep the layers flat. Quilted-then-joined points are flatter, more even, and much easier to handle.
Trim after quilting
After quilting, trim each point back to the template size. Quilting draws fabric in slightly, so a point that was exact before quilting may be a few millimetres small after. Trimming all five points to the same size after quilting keeps them identical — and identical points are the foundation of a level star.
Join the points into a star
The centre square method
The pattern joins the five points to a 10 cm centre square: overlap each point’s base onto the square by 1 cm and stitch it down. The overlap matters. It gives each point a firm anchor, and it hides the raw edges under the square where they will not be seen. Work around the square in order, and check that each point sits at an even angle before you stitch the next one.
Backing and the turning gap
Place the pieced star front and the backing right sides together, add a 15 cm ribbon loop tucked between the layers at the top point, and stitch around the edge leaving a 4 cm turning gap. Clip the corners and the inner angles before turning: clipped seams turn cleanly, and clean corners are what make the star’s edge look sharp. Turn, press, and slip-stitch the gap closed.
The ribbon loop must sit exactly at the top point’s tip, centred. A loop attached even slightly to one side pulls the star off-centre when it hangs. Pin the loop, then look at the star straight on before you stitch: the loop, the top point and the star’s centre should form one straight line.
Stuffing: less than you think
Stuff the points first
Stuff each point first, lightly, pushing a small amount of filling right to the tip. Points that are unstuffed or unevenly stuffed are the classic cause of the floppy-point problem: one point holds its shape and the next collapses. A thin, even layer of stuffing in every point gives the star its crisp silhouette.
Keep the centre light
The centre of the star needs less stuffing than you expect. A heavily stuffed centre makes the star puff up and round, which shifts its weight and can make it hang nose-down. A light fill in the centre — just enough that the star does not look deflated — keeps the star flat and its weight even.
The hanging test
Before you call an ornament finished, hang it. Hold the ribbon loop between two fingers and let the star dangle freely. It should settle level within a few seconds. If one point pulls down, that point is heavier: remove a little stuffing from it, or add a touch to the opposite point. If the star twists, the loop is off-centre: restitch it.
This test takes ten seconds per ornament and is the difference between a set that looks professional and one that does not. Do it for all six, and do it before you wrap them — fixing a finished, gifted ornament is nobody’s idea of fun.
Making a set of six
A finished star is 15 cm across: big enough to see on the tree, small enough to make in an evening. Making six identical stars is a rhythm job — cut all the points, quilt all the points, join all the stars — and the batch approach keeps each star consistent with the others. Mix your fabrics across the set for a varied look, or keep them matching for a coordinated one.
For the other half of a quilted Christmas, read How to Quilt a Christmas Table Runner That Lies Flat — the same centre-out quilting habit that keeps your runner flat keeps your star points crisp.
Troubleshooting
A point is floppy
A floppy point is almost always an unstuffed or under-stuffed point. Push a little filling to the tip with a chopstick or a turning tool. If the point’s quilting is very loose, the batting may have shifted; a few hand stitches through the layers will hold it in place.
The loop pulls out
A loop that pulls out was not caught securely in the seam. Restitch it with a small rectangle of stitching over the loop’s ends, not just a single line. The loop carries the ornament’s whole weight, so this seam deserves the extra effort.
The star looks lopsided
Lopsided stars come from points joined at uneven angles. Lay the star flat and measure from each point’s tip to the centre: all five should be equal. If one point was joined at a wrong angle, unpick that point’s seam and rejoin it. It is a ten-minute fix that saves the ornament.
Ornaments that earn their place
Six level stars, hung on a tree or given in a box, are a satisfying make: quick enough to finish, pretty enough to keep. The hanging test is the habit that makes them so. Sew it, stuff it lightly, hang it, and only then call it done.
Ready to sew the set? Get the full printable pattern here: Quilted Christmas Star Ornament Pattern. Print at 100 percent, check the test square, and hang every star level.