How to Sew Quilted Christmas Placemats That Lie Flat
A quilted Christmas placemat is a small project with an outsized effect: four matching mats turn an ordinary table into a Christmas table, and they are used every day of the festive season rather than admired from a shelf. The catch is that a placemat has to lie flat under a plate, survive hot dishes and washing, and look the same on all four places. None of that happens by accident. It happens when the blocks are square, the quilting order is right, and the binding is not pulled tight.
This guide covers fabric choice, block layout, quilting order, and the mitred binding that gives a placemat its clean finish. The full printable version with full-size templates is Quilted Christmas Placemats — Set of 4.
Why placemats ripple or curl
Most failed placemats fail for one of three reasons. First, the blocks were cut slightly off-square, so the mat is longer on one edge than the other and has to ripple to lie down. Second, the quilting was sewn from one edge to the other, pushing the batting ahead of the needle into a lump. Third, the binding was pulled tight as it was sewn, drawing the edge in and curling the corners.
All three are avoidable. Cut with a rotary cutter and a ruler, quilt from the centre outward, and let the binding lie naturally as you sew it. Do those three things and your mats will lie flat the first time, and stay flat after washing.
Choosing fabric for placemats
Weight matters more than print
Use medium-weight quilting cotton for the top and the backing. It quilts cleanly, presses crisply, and washes well, which matters for something that will meet gravy, candle wax, and red wine sooner or later. Avoid very heavy fabrics such as canvas for a first set: they are hard to quilt evenly and they make the mat stiff rather than draped, so plates rock on it.
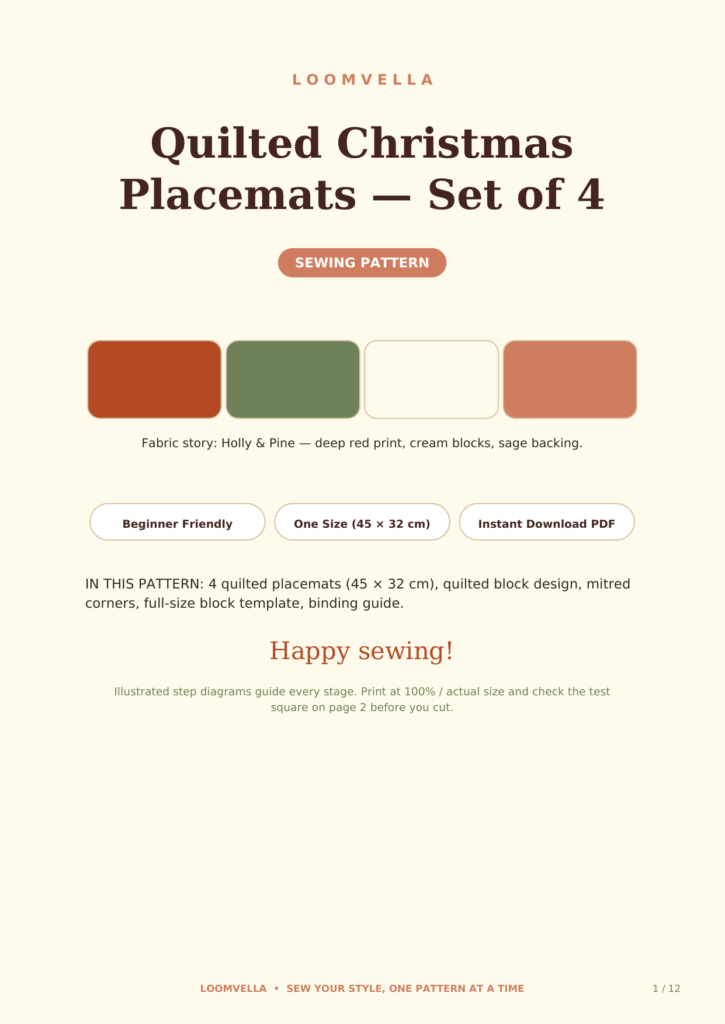
For the print, a good rule is one bold print, one quiet contrast, and a plain backing. The bold print carries the Christmas feeling; the quiet contrast gives the eye somewhere to rest; the plain backing means the mat looks fine when it is flipped over or stacked. In the pattern, the story is Holly & Pine: a deep red print, cream blocks, and a sage backing.
Batting: light, not lofty
Choose a light cotton or cotton-blend batting. A lofty polyester batting makes a placemat puffy, which sounds cosy but means plates wobble on it and glasses tip. Light batting gives just enough body to drape well and quilt without bulk at the seams. If you plan to put hot dishes directly on the mats, use cotton batting rather than polyester, which can melt under a very hot dish.
Cutting square: the step that decides everything
The 16 cm block
The mats in this guide are built from 16 cm squares, six per mat, alternating print and cream. Cut every square with a rotary cutter against a ruler, on a cutting mat. Do not cut squares with scissors for placemats: scissors drift, and a drift of 2 mm per block becomes more than a centimetre across a mat.
After cutting, measure a few squares. They should all be exactly 16 cm. If some are 15.8 cm and others 16.2 cm, the mat will not be rectangular. Trim the offenders now; it takes two minutes and saves the whole project.
Sewing the tops
Sew the blocks into a row for each mat top, pressing every seam to the dark side as you go. Once the top is sewn, measure it. It should be 45 cm by 32 cm along its whole length. If one end is wider than the other, trim the wide end square with a ruler before quilting.
Quilting order: centre out, never edge to edge
Layer and baste
Layer each top over batting over backing, right side up, and pin or baste every 10 cm. Pinning densely matters on a placemat because the layers are wide and they shift as you sew. Safety pins work well; so does a light spray baste if you prefer it.
Stitch in the ditch, then diagonals
Start quilting in the middle of the mat, not at an edge. Stitch in the ditch along the block seams first, working outward toward each side in turn. Then add one diagonal line across each block for texture. Quilting from the centre outward pushes any fullness toward the edges, where it can be trimmed away, instead of trapping it in the middle as a lump.
Go slowly and let the machine feed the layers. Pushing or pulling the mat as you quilt stretches the top and causes ripples after washing. If your machine has a walking foot, use it: it feeds all three layers evenly and is the single best tool for quilting placemats.
Trim square
After quilting, trim each mat back to 45 by 32 cm, squaring the corners with a ruler. Check opposite sides against each other: they should be equal.
Binding with mitred corners
Binding is where many placemats go wrong, and mitred corners are the part that worries beginners most. They are simpler than they look: a mitred corner is a fold, not a cut.
Join the binding strips into one long strip, fold it in half lengthwise, and sew it to the front of the mat at 1 cm. When you reach a corner, stop 1 cm before it, fold the strip at 45 degrees away from the mat, then fold it back along the next side and continue sewing. The fold creates the mitre automatically. At the end, fold the binding to the back and slip-stitch it down by hand for the neatest finish, or topstitch from the front for speed.
How big should a placemat be?
A placemat should hold a dinner plate with room to spare: a standard dinner plate is about 27 cm across, so a 45 by 32 cm mat leaves at least 8 cm of pattern showing on each side and space for cutlery. Smaller than that and the plate covers the design; larger and the mats crowd each other on a small table. If your table seats four tightly, 45 by 32 cm is the right call; for a long banqueting table you can go wider, but keep the same construction.
For a matching gift to put on the table, read How to Sew a Wine Bottle Gift Bag — placemats on the table and a quilted bottle bag beside each place make a whole Christmas table from one fabric story.
Troubleshooting mats that will not lie flat
They ripple after washing
Wash the mats on a gentle cycle and dry them flat, or tumble dry on low and press while still slightly damp. Cotton shrinks a little on its first wash; pressing while damp re-squares it. If rippling persists, the cause is usually quilting that was sewn edge to edge. Press firmly with steam and accept a mat that is charming rather than perfect — and quilt the next set from the centre out.
The corners curl up
Corners curl when the binding was pulled tight during sewing, or when the batting was trimmed shorter than the top at the corners. Press the corners flat with steam and a heavy book overnight. For the next set, sew the binding without pulling and trim batting flush with the top before binding.
Your Christmas table, finished
Quilted placemats are a weekend project with a long payoff: they come out every Christmas, they survive years of dinners, and they are one of the few handmade things guests actually use rather than admire from a shelf. Make them in fabrics you love, quilt them from the centre out, bind them with care, and they will lie flat for years.
Ready to start? Get the full printable pattern here: Quilted Christmas Placemats Sewing Pattern. Print at 100 percent, check the test square, and sew a set your table deserves.