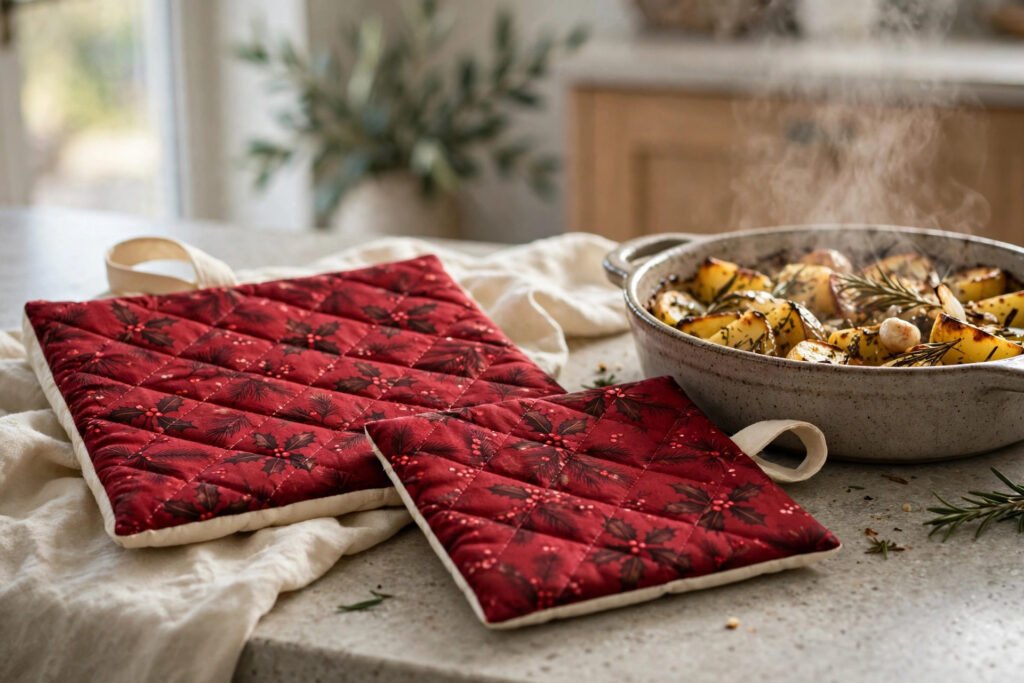
The one mistake most homemade hot pads make
Most homemade hot pads fail in exactly one way: they use plain batting only. Plain batting insulates against a warm plate, but a dish straight from the oven is a different problem, and heat comes through plain batting faster than most makers expect. That is why this guide to how to sew quilted hot pads starts with the layer that matters most, the heat-safe layer, and treats everything else as finishing.
A good hot pad is 20 cm square, thick enough to hold comfortably, and fitted with a loop so it hangs by the oven instead of disappearing into a drawer. A pair takes about an hour to sew, uses small amounts of fabric, and makes a genuinely useful Christmas gift — unlike many handmade gifts, a hot pad gets used the week it is given.
What you need
The four layers
Each hot pad has four layers, in this order from front to back: the outer cotton, a heat-safe batting layer, a light cotton batting layer, and the backing cotton. The heat-safe layer sits nearest the hot dish, which is the side that does the hard work. Heat-safe batting, the kind sold under names like Insul-Bright, contains a reflective layer that slows heat far better than cotton batting alone. It is not expensive, and a small amount goes a long way: you need only 0.3 metres for a pair of pads.
Fabric and binding
Christmas prints make lovely hot pad outers, and a 20 cm square is small enough that even a bold print does not overwhelm. For the backing, choose a plain or quiet fabric, because the backing is the side your hand presses against and a busy print there adds nothing. You need about 1.8 metres of bias binding for the pair, plus two 12 cm lengths of ribbon or fabric for the hanging loops.
Step 1: Layer in the right order
Lay the backing face down, then the light batting, then the heat-safe batting, then the outer fabric face up. Getting this order wrong is easy and the result looks identical from the outside, which is why it is worth saying plainly: the heat-safe layer goes on the dish side, not the hand side. If you put it next to your hand instead, you have insulated your hand from a pad that is already hot, which helps nobody.
Pin or baste every 10 cm. Four layers shift more than two, and a hot pad quilted without basting will pucker. Quilt straight lines 4 cm apart, working from the centre outward, then trim each pad to exactly 20 cm square. Both pads should measure the same: a pair only reads as a pair when the sizes match.
Step 2: Loops and binding
Fold each 12 cm loop in half and pin it into one corner of a pad, with the loop ends inside the seam allowance so the binding will catch them. This is a small detail with a big consequence. A loop caught only by a few stitches will pull out the first time the pad is hung; a loop caught inside the binding, sewn over twice, will hold for years.
Bind all four edges of each pad in one run, mitring the corners so they lie flat. When you reach the corner with the loop, sew over the loop ends twice before continuing. Then tug each loop firmly. If it moves at all, sew over it again now, while the pad is still in your hands, rather than discovering the failure when the pad is hanging in someone else’s kitchen.
Step 3: Test with a real hot dish
This is the step that separates a decorative pad from a working one. Test each pad with a genuinely hot dish from the oven, not a cold plate. Lift the dish, carry it across the kitchen, and set it down. The back of the pad should stay comfortable to hold for the whole lift. If heat comes through too fast, the pad needs a second heat-safe layer, and it is far better to learn that in your own kitchen than to have a gift recipient learn it in theirs.
Also test the pads dry. A damp hot pad conducts heat straight through, whatever batting it contains, so never lift a hot dish with a wet pad. If your pads get wet in use, let them dry fully before the next hot lift. It is worth mentioning this to anyone you gift them to, because it is not obvious and it matters.
Common mistakes and how to avoid them
Plain batting only
The most common failure, and the easiest to avoid. Buy the heat-safe batting. It costs little, and it is the whole reason the pad works.
Loops sewn too shallow
A loop that is only tacked on will pull out. Catch the loop ends inside the binding and sew over them twice. Tug-test every loop before you call the pad finished.
Pads that are too small
A pad smaller than the dish it is meant to lift leaves fingers exposed at the edges. Twenty centimetres square covers the base of most oven dishes and gives your fingers room at the sides. If your largest dish is wider than that, scale the pattern up rather than hoping a small pad will stretch.
Skipping the hot test
A pad tested only on a cold plate is untested. The hot test takes two minutes and it is the only test that means anything.
Matching your kitchen
Hot pads pair naturally with other quilted kitchen pieces, because they use the same layering, quilting, and binding skills. If you are already sewing quilted napkins for the Christmas table, the same fabric story works for hot pads: a shared print or a shared binding colour ties the kitchen and the table together without any extra planning. Our guide to quilted Christmas napkins uses the same binding method, so the two projects teach each other.
The pattern, if you want the template
If you would like the full-size 20 cm template, the cutting layout, and the step-by-step guide for the pair in one printable document, the Quilted Christmas Hot Pads sewing pattern is available as an instant-download PDF. It is a beginner-friendly pattern: straight seams, one binding method, and a clear note about the heat-safe layer that must not be skipped.
Sew the pair this weekend
Hot pads are a satisfying weekend project because they are quick, useful, and hard to get wrong once you know about the heat-safe layer. Sew one, test it with a hot dish, and then sew the second with everything the test taught you. Give the pair to someone who cooks, and you will have given a gift that gets used at the next meal — which is more than most Christmas gifts can say.