Crochet Fingerless Gloves Size Guide: Measure Once, Fit Every Time
Fingerless gloves are a small project with a high fit standard: too tight and the thumb opening pinches, too loose and the cuff slides over your hand while you type. The good news is that fit is a measurement problem, not a talent problem. Measure once, match the pattern’s size chart, check your gauge — and the gloves will fit the first time.
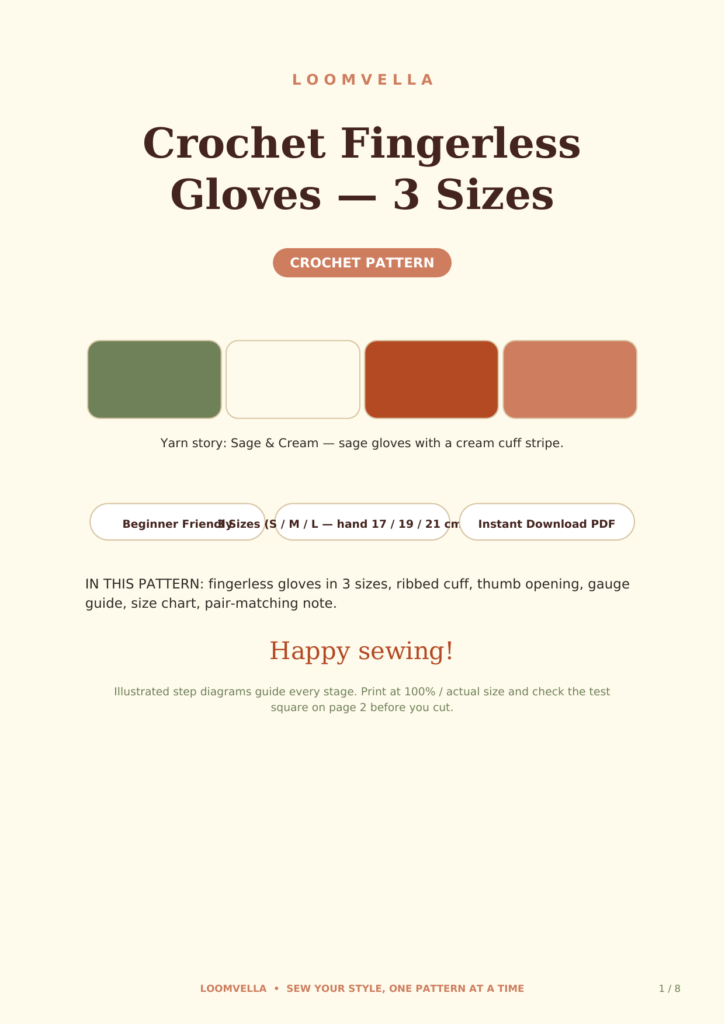
This guide covers how to measure, the three sizes, gauge, the thumb opening, and how to make a matching pair. The full printable version with the size chart is Crochet Fingerless Gloves — 3 Sizes.
Why fingerless gloves fail to fit
Most fit problems come from skipping two steps: measuring the hand and checking gauge. Crocheters measure the hand, pick the size, and start — then discover the cuff is tight because their stitches are smaller than the pattern’s. Or they check gauge but guess the size, and the thumb opening lands in the wrong place.
Fit needs both. The size chart tells you which size to make; the gauge check tells you whether your stitches match the pattern’s. Do both before the first round and you will not be unpicking a finished cuff.
How to measure your hand
The knuckle measurement
Wrap a tape measure around your knuckles, just below the fingers, with your hand relaxed — not spread, not clenched. This is the measurement that decides the size. Write it down. Hands are rarely symmetrical, so measure the hand the gloves are for; most people make both gloves to the dominant hand’s measurement.
The three sizes
The pattern gives three sizes based on the knuckle measurement. Small fits a slim hand, medium fits most adult hands, large fits a broad hand. If your measurement falls between two sizes, choose the smaller: crochet stretches with wear, and a glove that starts snug stays on. A glove that starts loose only gets looser.
Length: wrist to knuckles
Measure from your wrist crease to the base of your fingers. This tells you how long to make the hand section. Fingerless gloves should end at the base of the fingers — longer and the fingers catch, shorter and the knuckles are exposed to the cold.
Gauge: the step you cannot skip
Crochet a swatch
Work a 10 cm square in the pattern stitch and measure it. If your square is smaller than 10 cm, your stitches are tight: go up half a hook size. If it is bigger, go down. Half a hook size changes a glove’s circumference by a full centimetre over the cuff — the difference between snug and sliding.
Why gloves punish bad gauge
On a blanket, a gauge error just makes a bigger blanket. On a glove, the same error is a percentage of a small circumference: 1 cm off on a 20 cm cuff is a 5 percent error, and you feel every percent. Gloves are where gauge discipline pays off most visibly in crochet.
The ribbed cuff
Why ribbing
The cuff is worked in ribbing — alternating front-post and back-post stitches — because ribbing stretches and springs back. A plain single-crochet cuff has no give: it is either tight going on or loose wearing. Ribbing accommodates the hand going through and then hugs the wrist.
Cuff length
The cuff should cover the wrist and a little of the forearm: long enough to stay put, short enough to push up when you need your wrists free. If you wear a watch, make the cuff long enough to sit under it or short enough to sit above it — a cuff that fights a watch all day is a cuff you will stop wearing.
The thumb opening
Placement matters
The thumb opening is a gap left in the rounds where the thumb passes through. Its placement is set by the size: too high and the thumb is cramped, too low and the opening gapes. Follow the pattern’s round counts for your size exactly — this is not the place to improvise.
Try it on as you go
When you reach the thumb opening, try the glove on. The opening should sit at the base of your thumb with the hand section smooth. If it is wrong, you have only a few rounds to unpick — not a finished glove. Trying on is faster than reworking, every time.
Making a matching pair
Count, do not eyeball
The second glove must match the first exactly: same number of cuff rounds, same hand rounds, same thumb opening placement. Write down your round counts as you make the first glove and follow the notes for the second. “Eyeballing it” produces gloves that are visibly different lengths.
The pair-matching note
The pattern includes a pair-matching note: a place to record your counts. Use it. It takes thirty seconds and it is the difference between a pair and two similar gloves.
Styling your gloves
Fingerless gloves go with everything because they are practical first and decorative second. Make them in a neutral for every day, or in a Christmas red to match the season. They pair naturally with the quilted Christmas placemats on the table and a handmade gift under the tree — a whole Christmas of making, worn and used.
Troubleshooting fit problems
The cuff is too tight
Your gauge is smaller than the pattern’s, or you chose too small a size. Check the swatch first: if the swatch matches and the cuff is still tight, go up a size. If the swatch is small, change hook size, not pattern size.
The thumb opening gapes
The opening is placed too low or worked too wide. Check the round count against the pattern for your size. A small gap can be closed with a stitch or two of yarn on the inside — invisible and effective.
Measure once, wear for years
Fingerless gloves are a quick project that you will wear daily all winter, which makes fit worth the ten minutes of measuring. Measure the knuckles, check the gauge, try on at the thumb — and make the pair match. Do that and the gloves fit the first time, every time.
Ready to start? Get the full printable pattern here: Crochet Fingerless Gloves Pattern. Print at 100 percent, check the test square, and crochet gloves that fit.