How to Sew an Oven Mitt and Pot Holder Set That Actually Protects Your Hands
Plenty of oven mitts look pretty and fail at their one job. They are too thin, too short, or made with the wrong batting, so heat creeps through just when you are holding a heavy roasting tin. Learning how to sew an oven mitt and pot holder set that actually protects your hands starts with materials, not decoration. Get the layers right, and the pretty fabric on top is a bonus, not a substitute for safety.
This guide covers a quilted mitt and a matching square pot holder, both made with heat-safe batting, a hanging loop, and a proper fit. The skills are beginner-level, but the result should be treated as a working kitchen tool, not just a decoration.
Heat-Safe Batting Is Not Optional
Ordinary cotton batting insulates a little, but it is not designed for sustained heat. For oven mitts, use a heat-resistant batting or an insulating batting layer specifically made for hot pads, often combined with a layer of cotton batting for cushioning. Read the product description of the batting you buy and check its heat guidance before you cut.
Layer order matters. From the outside in, a good mitt has the outer fabric, a heat-resistant layer, a cotton batting layer for padding, and a lining. That combination slows heat transfer and gives you time to grip, lift, and set down a hot dish without rushing. A single thin layer, however pretty, will not do that job.
Why Two Layers Beat One Thick Layer
Two separate layers trap a small amount of air between them, and trapped air is a good insulator. One very thick layer can also work, but it makes the mitt stiff and hard to grip with, which is dangerous in its own right. A mitt you cannot grip properly is a mitt you will drop, hot dish and all.
Quilt the layers together with straight lines or a simple diamond grid. Quilting keeps the layers from shifting inside the mitt, which would leave thin spots exactly where your palm grips. Keep the quilting lines about five centimetres apart, and do not quilt so densely that the mitt becomes a board.
Sizing the Mitt for Real Hands
A mitt that is too tight is hard to get on quickly, and a mitt that is too loose slips and folds. Measure your hand from the wrist crease to the tip of your middle finger, and across the palm at its widest point. Add ease for comfort, and make the cuff long enough to cover your wrist, since the wrist is often the first place to meet a hot oven rack.
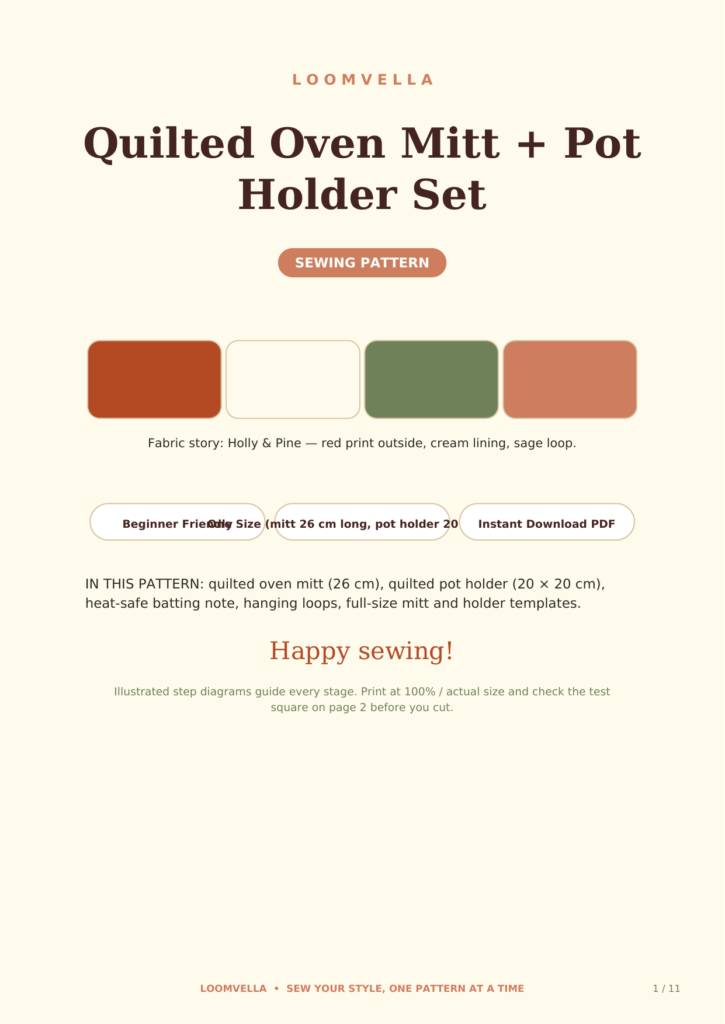
For a gift set, a generous medium fits most adults, but do check the pattern’s size guidance rather than guessing. The Quilted Oven Mitt and Pot Holder Set Pattern on loomvella.com includes full-size templates and sizing notes as a PDF instant download, so you can trace the right size instead of scaling by eye.
Cutting and Quilting the Pieces
Cut the outer, batting, and lining pieces for the mitt front, mitt back, and thumb section, plus the square pot holder pieces. Label everything, because quilted pieces all look similar once they are stacked. Quilt each main piece before assembly, working from the centre outward so the layers stay smooth.
Press carefully between stages, but never press directly onto heat-resistant batting with a very hot iron for a long time. A medium iron and a pressing cloth protect both the batting and your fabric, and they keep the quilted texture even.
Sewing the Mitt Together
Sew the thumb piece to the mitt front first, matching the curves carefully and clipping the seam allowance so the curve lies flat. Then place the front and back right sides together, sew around the outer edge, and turn the mitt right side out through the cuff opening. Push the thumb out gently with a blunt tool, not scissors, which can poke through the seam.
Topstitch around the cuff edge to hold the lining in place and give a neat finish. A topstitched cuff also stops the lining from pulling out when you take the mitt off quickly, which is exactly when a loose lining causes trouble.
Adding the Hanging Loop
Add a hanging loop at the cuff or the top corner of the pot holder. A loop of folded fabric, topstitched for strength, is better than a ribbon loop, which can fray and is less heat-tolerant. Sew the loop into the seam with several backstitches, since a loop that pulls out the first time it is hung is worse than no loop at all.
Position the loop so the mitt hangs with the opening facing down or sideways, allowing air to circulate inside. A mitt stored damp or bunched up in a drawer stays damp, and a damp mitt conducts heat far faster than a dry one.
Sewing the Matching Pot Holder
The pot holder is a simpler version of the same construction: two quilted squares, bound around the edge, with a hanging loop at one corner. Use the same heat-resistant layer combination as the mitt, not a thinner version, because a pot holder often holds a heavier dish with one hand while the other hand steadies it.
Bind the edge with bias tape in a coordinating fabric, working slowly around the corners. Mitred or neatly folded corners look professional and prevent the binding from bunching. Press the finished pot holder flat and check it with your hands for thin spots or missed quilting lines before you call it done.
Testing Before You Trust It
Test the set before you rely on it for a full roast. Hold a warm, not scorching, baking tray with the mitt for a few seconds and notice how quickly warmth comes through. Then test with a hotter dish, carefully, and always keep your other hand free. If heat comes through too quickly, the set is decorative, not functional, and you should add another insulating layer or remake it with proper heat-resistant batting.
Never use a wet oven mitt. Water turns to steam inside the layers and carries heat straight to your hand. If a mitt gets wet, hang it to dry completely before using it again, and keep a spare dry set in the kitchen for busy cooking days.
A Practical, Giftable Kitchen Set
A matching mitt and pot holder set is one of the most useful handmade gifts you can give, precisely because it gets used every week. Choose fabrics that suit the recipient’s kitchen, add a personal touch with a contrasting binding or a small embroidered initial on the cuff, and present the set folded together with the loop visible.
If you enjoy this kind of practical Christmas sewing, the tree skirt project in How to Sew a Quilted Christmas Tree Skirt uses the same quilting and binding skills on a larger scale, and makes a lovely companion gift for the same household.
Ready to sew a set you can actually cook with? Get the Quilted Oven Mitt and Pot Holder Set Pattern as a PDF instant download on loomvella.com, with full-size templates, layer guidance, and step-by-step diagrams for the mitt, the thumb, and the matching pot holder.