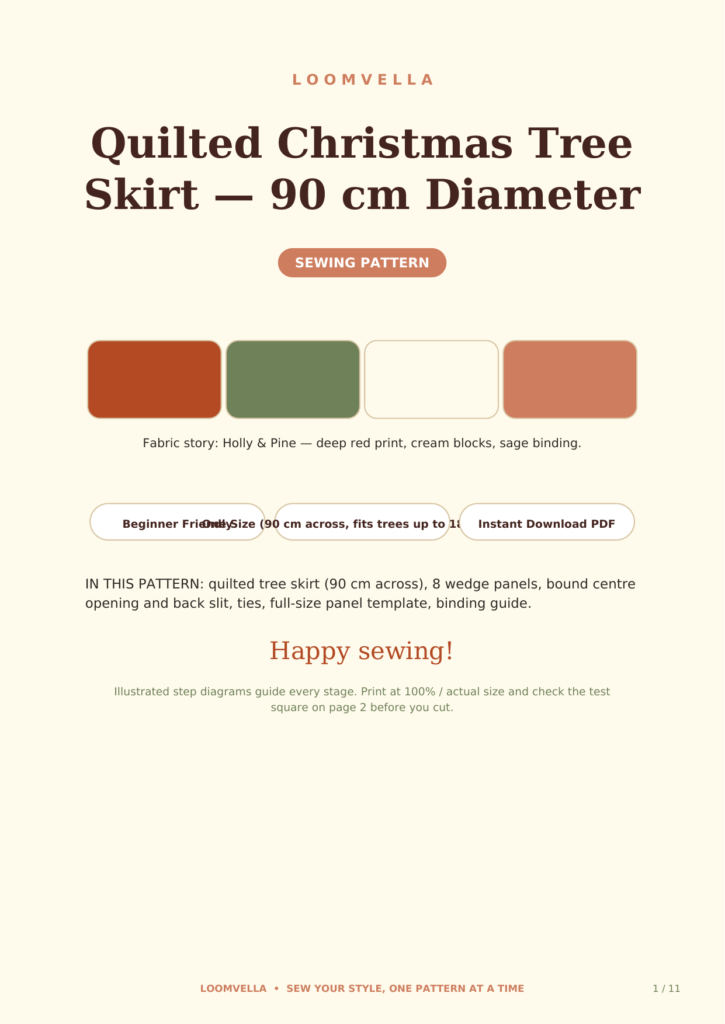
How to Sew a Quilted Christmas Tree Skirt That Lies Flat Under the Tree
If you have ever bought a tree skirt that bunched up, curled at the edges, or slid out from under the tree every time someone walked past, you know the problem is not the fabric. It is the construction. Learning how to sew a quilted christmas tree skirt properly means thinking about shape, weight, and the centre opening before you cut a single piece. A good skirt lies flat, stays put, and still looks beautiful when the presents are gone and only the tree remains.
This guide walks you through an eight-panel design that is forgiving for beginners. Each panel is quilted separately, then joined, so you never have to wrestle a huge circle of fabric under your machine. The finished skirt wraps around the trunk, fastens with simple ties, and has a bound opening that will not fray or stretch out of shape.
What Makes a Tree Skirt Lie Flat
A tree skirt fails when one of three things goes wrong. First, the centre hole is too small, so the fabric rides up the trunk. Second, the outer edge is finished with something stiff or heavy, which pulls the skirt into waves. Third, the quilting is too sparse, so the layers shift and bubble.
The design in this guide fixes all three. The centre opening is generous, the outer edge is bound with bias tape that follows the curve, and the quilting lines run in a simple grid that holds the layers together without making the skirt stiff. If you want the full printable version, the Quilted Christmas Tree Skirt pattern on loomvella.com gives you the illustrated step-by-step guide as a PDF instant download, with full-size panel templates included.
Choosing Fabric and Batting
Choose quilting cotton for the top. It presses crisply, sews predictably, and comes in every Christmas print you could want. A plain or low-volume print for alternating panels makes the skirt look designed rather than busy. For the backing, a solid cotton in a colour pulled from your top fabric works well, and it hides dust and pine needles far better than white.
For batting, use a low-loft cotton or cotton-blend batting. High-loft batting looks cosy but makes a tree skirt puffy, and puffy skirts do not lie flat. Low-loft batting gives the skirt enough body to hold its shape while still draping neatly over the floor. Avoid fusible batting for this project, because it can make large panels stiff and hard to ease around curves.
Cutting the Eight Panels
Measuring for Your Tree
Measure your tree stand first, not the tree itself. The centre opening needs to clear the widest part of the stand, plus a little room to slide the skirt underneath. A finished diameter of around 90 centimetres suits most standard trees, while a smaller tree in a corner may only need 70 centimetres.
Cut eight identical wedge panels, each with seam allowances included. Label each panel on the wrong side with a fabric pen or a small piece of masking tape. It sounds fussy, but when eight wedges look similar, labels save you from sewing the same seam twice and wondering why the circle will not close.
Quilting Each Panel Before Assembly
Quilt each panel before you join them. This is the single best tip in this whole guide. Place the panel top, batting, and a backing piece together, then stitch straight lines across the panel, about five centimetres apart. You can follow a printed stripe, use a walking foot, or mark lines with a hera marker.
Quilting first keeps each panel flat and manageable. It also means that if one panel goes slightly wonky, you can fix or replace that one panel instead of unpicking a finished circle. Press each quilted panel well before moving on, and trim any batting that pokes out beyond the edges.
Joining the Panels Into a Circle
Sew the panels together in pairs first, then join the pairs into halves, then join the halves into a full circle. Press every seam open as you go. Open seams reduce bulk at the points where the wedges meet, and that matters most near the centre, where eight seams converge.
When you join the final seam, leave the centre opening unsewn along one seam line. This is the slit that lets you wrap the skirt around the trunk. Do not cut the centre hole yet. It is far easier to bind the slit first, then cut the hole, than to wrestle a raw circular hole under the presser foot.
Binding the Centre Opening and Slit
Bind the slit edges with bias tape, stitching it to the front and hand-finishing or topstitching it on the back. Then mark your centre circle, cut it out carefully, and bind that edge the same way. A bound centre edge is the difference between a skirt that lasts one Christmas and one that lasts ten.
Add ties at three points along the slit: near the centre, halfway out, and near the outer edge. Simple fabric ties are better than buttons or hooks here, because they adjust to any trunk size and they lie flat when the skirt is stored folded.
Finishing the Outer Edge
Bind the outer edge with bias tape in a coordinating solid. Work slowly around the curve, easing the tape so it does not pucker. Clip or notch the seam allowance lightly if the curve fights you, but do not cut through your stitching. Press the finished edge from the back first, then from the front, using a pressing cloth if your fabric is dark or delicate.
Once the binding is on, lay the skirt flat on the floor and check it with your hands. Run your palms outward from the centre to the edge. If you feel a bump, press it again with steam. If a section still lifts, a few extra quilting stitches through that panel will usually settle it.
Storing Your Skirt So It Stays Flat
Fold the skirt in quarters rather than rolling it tightly, and store it flat if you have the shelf space. Rolling can set a curl into the outer binding that takes a full day of lying flat to relax. A quick press before you put it under the tree each year brings back the crisp finish.
If you enjoy making coordinated Christmas sewing, the matching bunting project in How to Sew Christmas Bunting That Hangs Straight uses the same binding skills, so it makes a natural second project once the skirt is done.
A Beginner-Friendly Weekend Project
This is a weekend project, not a race. Cut and quilt the panels on day one, and join, bind, and finish on day two. The skills are all beginner-level: straight seams, simple quilting lines, and bias binding. None of them needs to be perfect to look good, because the overall shape and the festive fabric do most of the visual work.
The result is a skirt that frames your tree instead of fighting it. It catches fallen needles, hides the stand, gives presents a pretty place to sit, and lies flat from the first day of December to the last.
Ready to make yours? Get the full illustrated Quilted Christmas Tree Skirt pattern as a PDF instant download on loomvella.com, with full-size templates, fabric requirements, and step-by-step diagrams for every stage above.