How to Sew a Wine Bottle Gift Bag That Stands Up on Its Own
A bottle of wine is a fine gift. A bottle of wine in a quilted bag you made, with a drawstring you tied, is a gift twice over — and unlike wrapping paper it gets kept, reused, and quietly admired every Christmas after. The trick is making a bag that stands up on its own: one that does not slump, lean, or need the bottle to hold it upright.
This guide covers fabric and batting choice, the boxed base that gives the bag its stance, the drawstring casing, and the two sizes. The full printable version with full-size templates is Quilted Wine Bottle Gift Bags — 2 Sizes.
Why most wine bottle bags slump
A wine bottle bag fails when the base is an afterthought. A flat-sewn tube of fabric has no structure: the moment you lift it by the drawstring, the fabric collapses around the bottle and the whole thing slumps. Gift wrap works for bottles because paper is stiff; fabric needs engineering instead.
The engineering is a boxed base: two triangular corners sewn across the bottom of the bag, which turn the flat tube into a three-dimensional box that the bottle sits inside. It takes five minutes to sew and it is the difference between a bag and a sack.
Fabric and batting for bottle bags
Quilting cotton, quilted
Use quilting cotton for the outer and a plain cotton for the lining. The quilting — stitching the outer to a light batting before you sew the bag — is what gives the panels body. Without quilting, the bag is limp; with it, the panels hold their shape and protect the bottle.
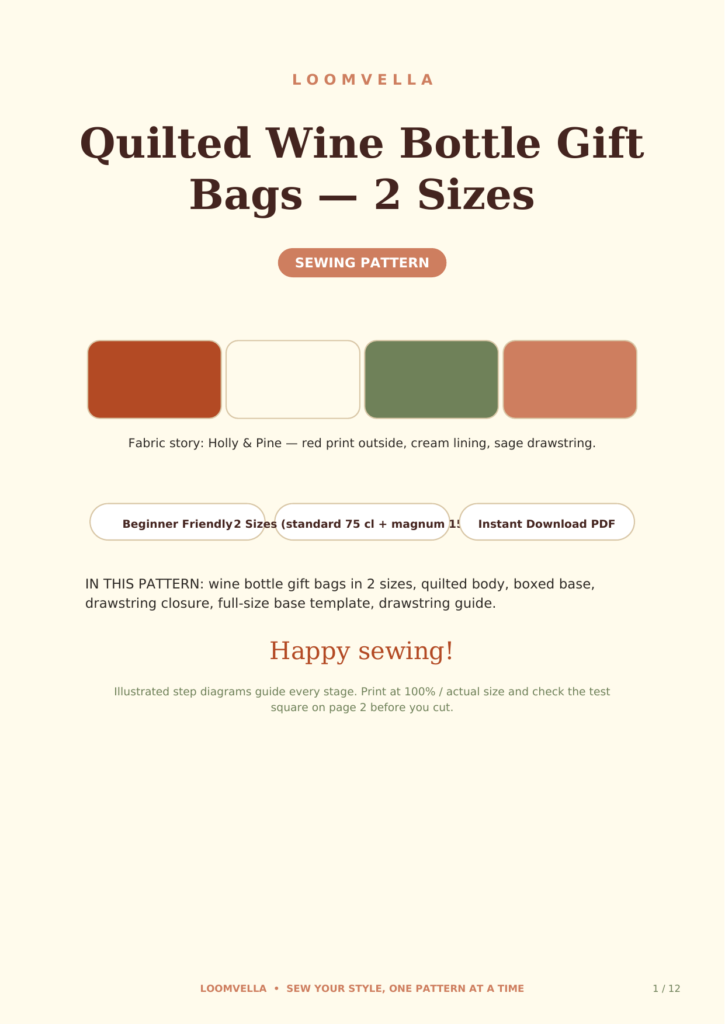
Choose a Christmas print for the outer and a coordinating plain lining. In the pattern, the story is Holly & Pine: deep red outer, cream lining, sage binding. A bold print reads beautifully on a tall narrow bag, and because the bag is tall, a large-scale print does not get lost.
Batting weight
Use a light cotton batting. Heavy batting makes the bag stiff and hard to turn right side out; no batting makes it floppy. Light batting quilts easily and gives the panels just enough body to stand. As with placemats, cotton beats polyester if the bag might meet a warm bottle.
Cutting and quilting the panels
Two sizes
The pattern gives two sizes: a standard 75 cl bottle size and a taller magnum size. The construction is identical; only the panel dimensions change. Cut the panels with a rotary cutter for straight edges — a tall bag shows every wobble in a cut edge.
Quilt before you sew
Quilt each panel before assembling the bag: layer outer, batting, and lining, pin well, and stitch a simple diagonal grid. Quilting flat panels is easy; quilting an assembled tube is miserable. Trim the quilted panels square after quilting, because quilting always draws the fabric in slightly.
The boxed base: the step that makes it stand
Sew the tube
Sew the two long sides of the bag together, right sides facing, to make a tube. Press the seams open. Turn the top edge under and press it — this will become the drawstring casing.
Box the corners
Flatten each bottom corner of the tube into a triangle, with the side seam centred on top, and sew straight across the triangle 5 cm from the point. Cut off the excess, leaving 1 cm. When you turn the bag right side out, the bottom is a flat rectangle instead of a point — and the bag stands up by itself, with or without the bottle inside.
Press the base flat and check it on a table. It should sit square. If one corner is deeper than the other, the bag leans; unpick and re-sew the shallow corner.
The drawstring casing
Sewing the casing
Fold the pressed top edge down by 3 cm and stitch close to the raw edge, leaving a 2 cm gap at the back seam. Thread two cords through the casing in opposite directions — one entering from the left gap, one from the right — so the bag gathers from both sides when you pull. Knot the cord ends together in pairs.
Use a cord with some body: cotton cord, grosgrain ribbon, or a narrow fabric tube. Thin satin ribbon looks pretty but slips undone; the bag should stay closed in a gift bag pile.
Tying it off
Put the bottle in, pull both cords, and tie a bow. The gathers should be even all round. If one side gathers more than the other, the cords are different lengths — trim and re-knot.
Matching the table and the tree
A quilted wine bottle bag in the same fabric story as your table linens ties the whole Christmas together. If you made the placemats from the quilted Christmas placemats guide, cut the bag panels from the same fabrics: the table and the gifts will look like a set, because they are one.
For the crackers to go with the bottles, read the reusable fabric Christmas crackers tutorial — bags for the wine, crackers for the table, all in one fabric story.
Troubleshooting bags that lean
It stands, but crooked
A leaning bag has uneven boxed corners. Measure both boxed triangles: they should be identical. Re-sew the shallow one. Also check that the side seams are straight — a curved side seam twists the whole bag.
The drawstring will not stay tied
The cord is too slippery or too thin. Switch to cotton cord or grosgrain, or tie a double bow. A tiny dot of fray-check on the knot keeps it from working loose without being visible.
A gift that keeps giving
A quilted wine bottle bag takes an evening, uses a fat quarter, and turns every bottle you give into a proper present. Make the standard size first, then the magnum for the show-off bottle. And keep one for yourself — it is the nicest way to carry wine to someone else’s Christmas.
Ready to start? Get the full printable pattern here: Quilted Wine Bottle Gift Bags Pattern. Print at 100 percent, check the test square, and sew bags that stand up on their own.